
Power Query in Excel is a really valuable tool for, among other things, automating processes that you may often find yourself having to carry out manually. In this article we’ll walk through the steps of automating one such task – collating data from multiple files. This is particularly useful in cases where you regularly receive data that needs to be added into a master dataset or existing reports.
Before we get into the walkthrough, here’s a quick preview of the process from start to finish:
/wp-content/uploads/2021/03/Excel-Append-Demo-Screen-Recording.mp4
1. Check your set-up:
a. Power Query is a built-in feature of Excel 2016 and onwards, which is what we’ll use for this walkthrough. It can also be installed as a free add-in if you use Excel 2010 or Excel 2013, but some of the following steps will differ slightly.
b. Check that all the files you want to combine are in the same format (column names etc.) If they aren’t in the same format, there are ways to rectify this in Power Query, but for the sake of brevity they won’t be discussed in this article.
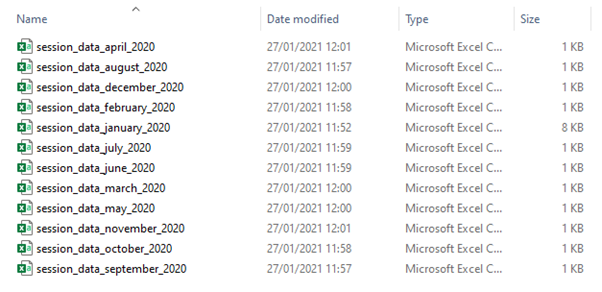
c. Get your data files in the same folder (it’s easiest if these are the only files in the folder)
2. Open up the workbook in which you want to combine the data (we’re using a new blank workbook for this example)
3. Data > Get Data > From File > From Folder

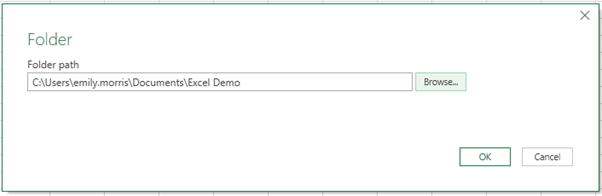
4. Enter the file path of the folder where you’re collecting the input data files, or find it via the Browse tool
5. Combine > Combine & Transform Data

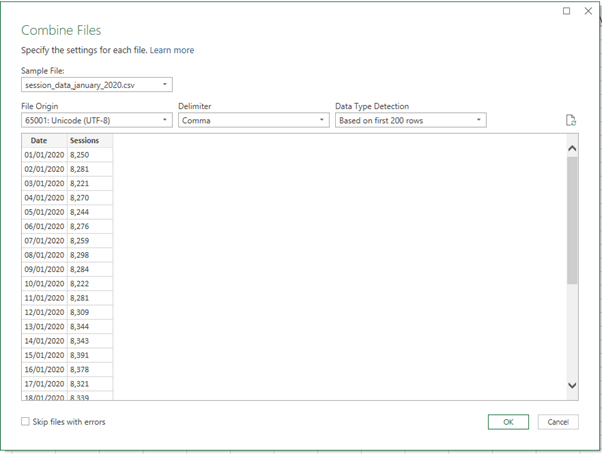
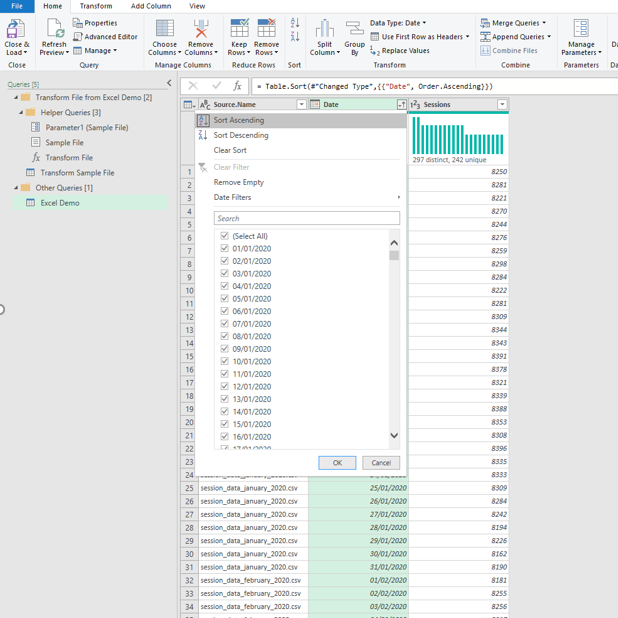
6. Check that Power Query has correctly interpreted the sample data file shown, and tweak any settings if necessary, then click OK
7. You’ll now be taken to the Power Query window, where a number of steps will have been automatically added to combine the files. You can now perform any extra data transformation steps that you may want to apply to the data before it’s loaded into your new master file
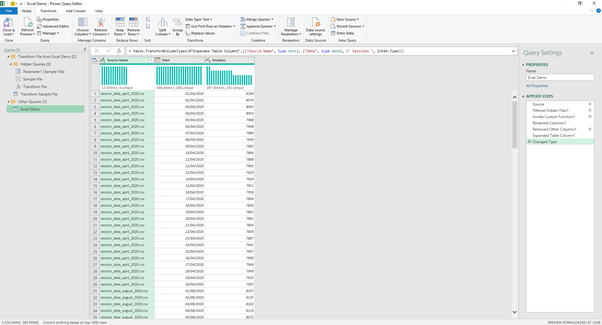
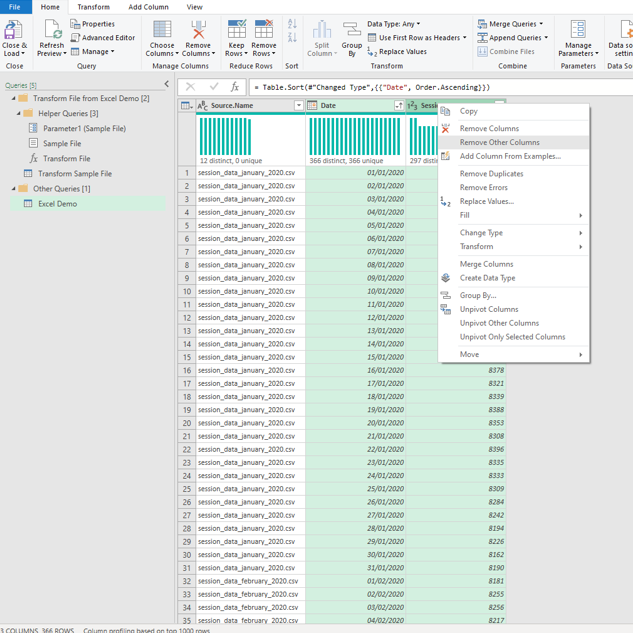
In this case, we’re going to:
a. Sort ascending by date
b. Remove all columns apart from Date and Sessions
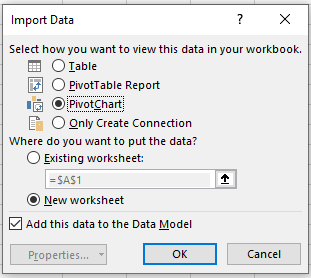
8. Home > Close & Load > Close & Load To…

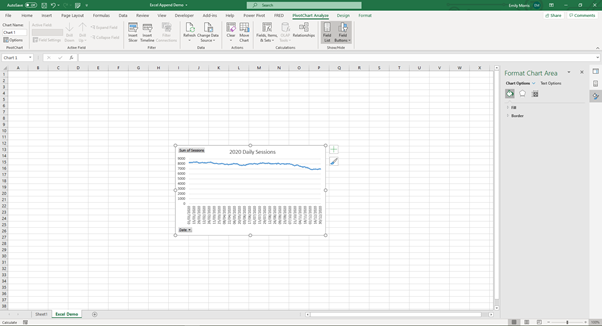
9. Choose where you want the new table to load (In this example, the data will be loaded to a PivotChart, but you can load yours to wherever you need it)
You now have all the data combined into one file!
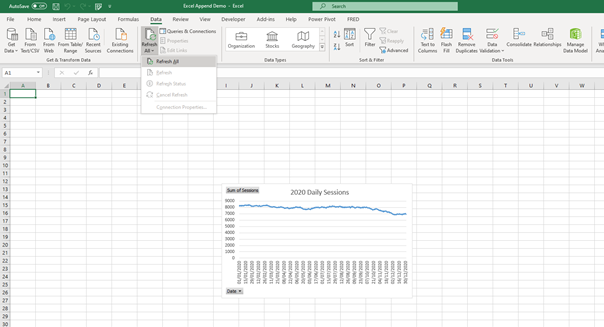
10. To update the file as you receive more data, simply:
a. Save the new file into your input folder
b. Data > Refresh All > Refresh All
Let us know if you found these tips useful! Hopefully, we helped simplify your workflow and saved you some extra time.
Check out our Data Collection and Transformation page for more information, and feel free to contact us if you require help or support with any of your analytics challenges.